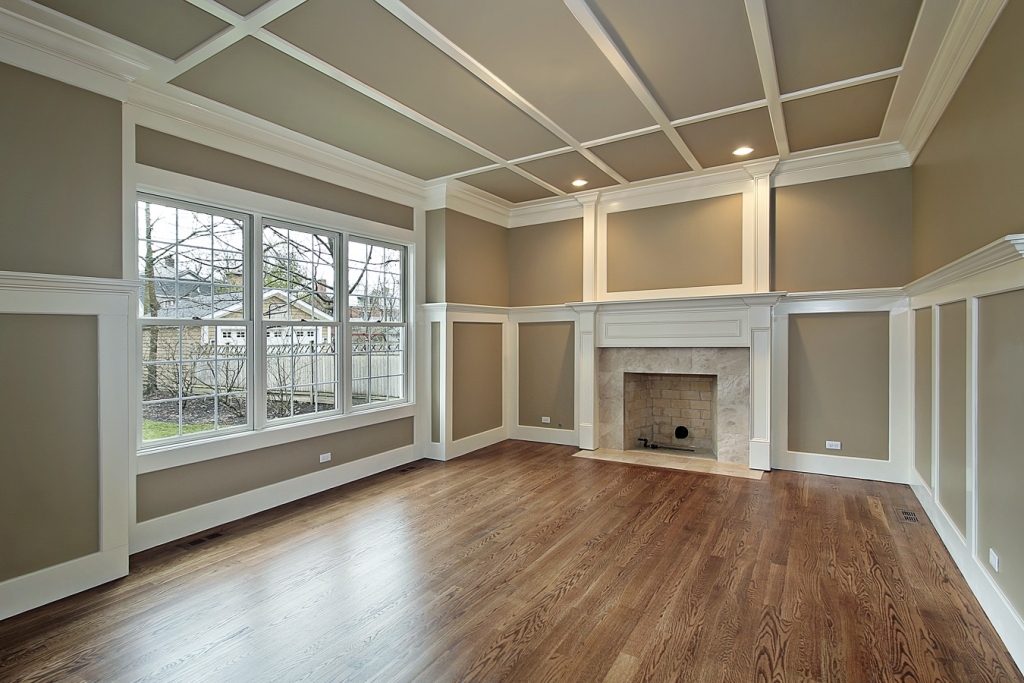
As any good finish carpenter will tell you, the key to a solid finish handyman job is having a good eye for detail. In addition to doing the odd interior trim, your job as a finish carpenter will involve completing big scale tasks like decking, siding and roofing.
What do all these tasks have in common?
They’re all made up of small details and proportions that you need to be aware of in order to get the job done right.
However, in order to make it to the big leagues, you need to perfect the art of measuring, marking and cutting accurately, and like with any craft, achieving ultimate skill in finish carpentry will take time and lots of practice. To simplify the learning process for you, we’ve compiled a list of the most essential rules in finish handyman services, as recommended by seasoned carpenters who have spent decades of experience perfecting this craft.
Don’t Use Numbers
Most novice carpenters think that using measuring tools like rulers and tapes will guarantee accuracy, but there’s a reason why the pros don’t measure everything. Marking a board by holding it in place gives you a better chance at precision than when using a tape. Overusing your measuring tools will increase your chances of making costly mistakes like misreading a ruler or miscalculating the measured numbers on a tape.
That said, there are certain instances where the use of a ruler or tape is absolutely necessary, like when you need to measure a very long piece of wood. But the general rule of thumb here is to only use measuring tools for pieces that are over 6 feet in length, especially if you’re doing cabinet and trim work.
Use Reveals and Avoid Flush Edges
No matter how hard you try, flush edges will not stay level forever. To mitigate this problem, carpenters typically step the casing back about ¼ in. or 3/8 in. This leads to shadowy reveals that make the inconsistencies less obvious, whereas laying the casing flat on the inside of a door or window jamb will not guarantee that it’ll stay in place.
Keep in mind that any variations in the region of 1/16 inch will be more visible than casing that’s stepped back by ¼ or 3/8 in. The trick here is to isolate the inconsistencies so that they’re less evident.
It’s also important to keep in mind that in the past, carpenters were limited to trim materials of varying widths, as planers were not used much. That’s why mitered casings are rare in older houses because carpenters relied on knocking the casing legs to the head, which ran past the legs by about 3/8 in. This took away all the necessity for getting exact measurements for the head casing, with the only requirement being that it had to be thick enough to cast a cap-like shadow.
Split the Difference
To figure out how many courses of a material you’ll need to finish a decking, siding or roofing house repairs, all you need to do is divide. For example, if you’re shingling the roof of an old house, whose ridge to eave measurements are 138 in. on one side and 135 on the other, you’ll then have to figure out what the ideal exposure per course will be, and then divide one of these numbers by that figure. That’s it!
